Are you looking to add some personality to your living space? Well, artwork is the perfect way to do just that! Your walls deserve just as much attention as your floors, and I’m here to help you make them stand out. The best part is that you can incorporate art into any room in your home!
Adding artwork is a great way to make your space feel unique and refined. For example, displaying art in your entryway can give your guests a warm welcome. In larger rooms, big pieces on open walls can create a sense of unity, while smaller frames and art tucked away in nooks can add a charming touch.
You might be wondering about the best way to hang art above furniture or how to create a gallery wall in a long hallway. Don’t worry, I’ve got you covered! I’ve compiled some of our favorite tips and tricks for hanging art in your home. So let’s get started and turn those bare walls into a stunning exhibit for your favorite pieces!
Art Above a Fireplace
Incorporating art above a fireplace or opting for a Frame TV can significantly enhance the visual appeal of your living area. It’s no secret that the fireplace serves as the centerpiece of the living room, and art is an excellent way to emphasize this feature. If you’re anything like us, the living room is our preferred gathering spot. We cherish cozying up for a movie night on a Saturday or tuning in to a football game while enjoying quality time together. For those who desire the perfect blend of entertainment and decor, the Frame TV offers an ideal solution. It allows you to watch your favorite shows and movies while also having a beautiful digital piece of art hanging on your wall when the TV is turned off. It may be our next purchase!
Tips:
- Choose the right size: The art or art grouping should be about two-thirds the width of the fireplace mantle.
- Mind the gap: Leave a gap of at least 3-6 inches between the bottom of the artwork and the top of the mantle. This will create a visual separation between the two elements.
- Add lighting: Consider adding accent lighting above the artwork to highlight its features and create a cozy atmosphere in the room. This can be achieved with picture lights or track lighting.
- Use heat-resistant materials: If you’re concerned about heat affecting your artwork, consider using heat-resistant materials, such as a metal frame or heat-resistant glass, to protect your art from potential damage.
Hanging One Large Art Piece
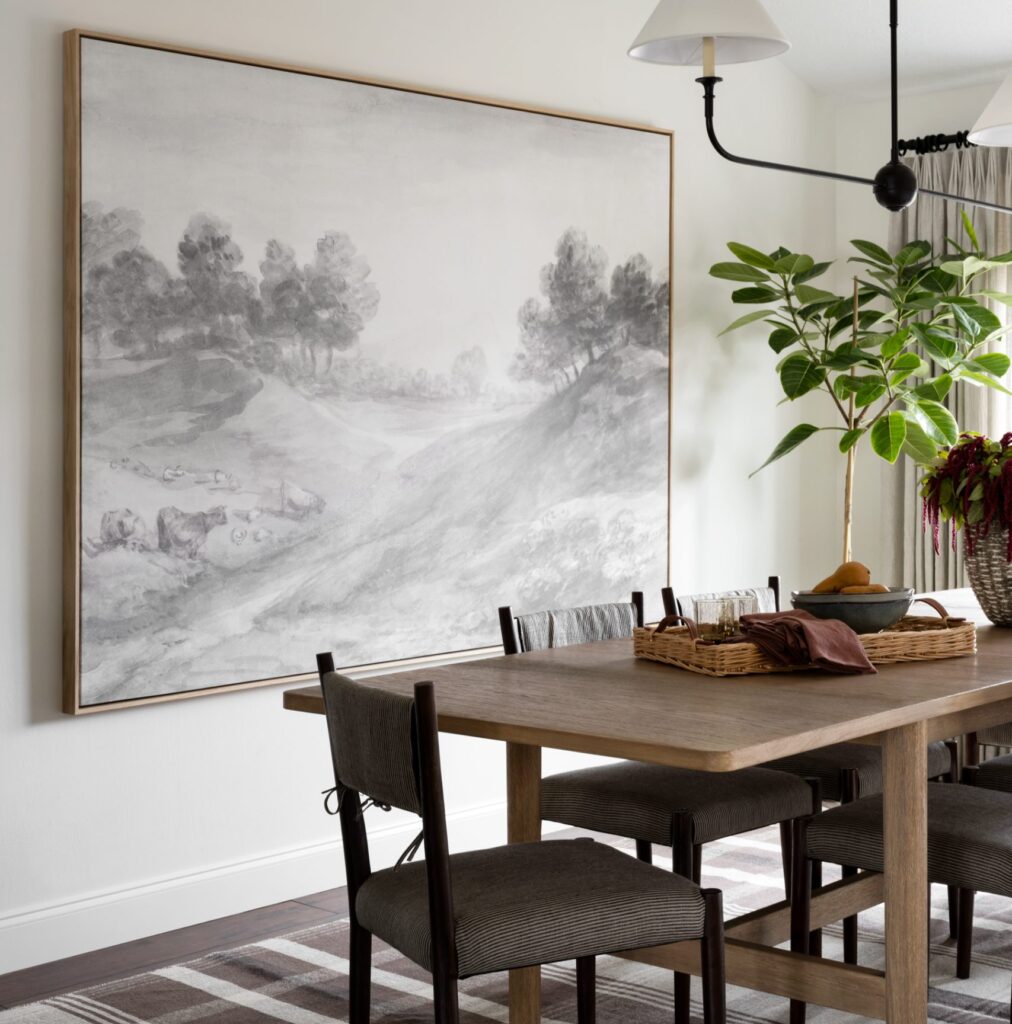
If you want to keep it simple, you can hang one large art piece in various areas of your home. My favorites include above a console table, above the bed in the bedroom, or on a large wall that’s a focal point of a room.
Tips:
- Choose the right location: Find a wall that can accommodate the size of the artwork without overwhelming the space. Ideally, the wall should be large enough for empty space around the art, creating a visual buffer and drawing attention to the piece.
- Measure and mark: Before hanging the artwork, measure the dimensions of the piece and the wall. Use painter’s tape or a pencil to mark the spot where the artwork will be hung. This will help you visualize the placement and make any necessary adjustments before putting nails or hooks in the wall.
- Hang at eye level: Make sure the center of the art piece is about 60 inches from the floor. This allows it to be at eyeliner and easier to look at. This placement ensures everything flows well.
- Add lighting: Add a picture light above it for some added character and to illuminate the piece in poor lighting.
Create a Gallery Set
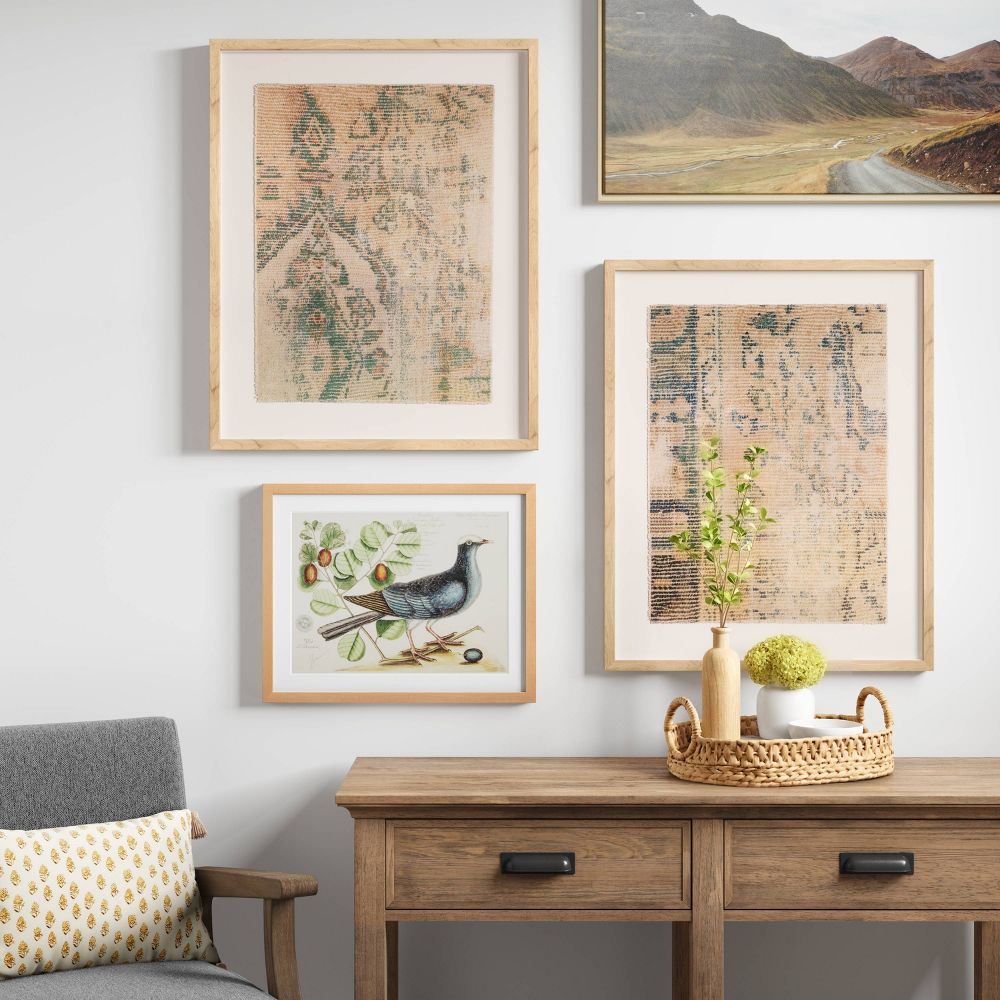
A gallery set is another option if you have multiple pieces of art that you adore. The key to doing this is to think of the gallery set as one extra large art piece. You’ll want to choose a layout that best complements your space and the artwork itself. You can also purchase equal-sized gallery frames to make your life easier! They come in a variety of sizes and can be used in hallways, above furniture, or even in bathrooms!
Tips:
- Plan your layout: Before you start hammering nails into the wall, take some time to plan your layout. Begin by laying out your artwork on the floor, and experiment with various arrangements. Snap a photo of your preferred layout to use as a reference later.
- Measure and mark: Measure the dimensions of your wall and the artwork you’re planning to hang. With these measurements in hand, use painter’s tape or a pencil to mark the locations of each piece on the wall. This will give you a visual guide to work with as you proceed.
- Establish a focal point: Choose a central piece of art to serve as the focal point of your gallery wall. This will help anchor the arrangement and draw the eye toward the center. Ideally, the focal point should be at eye level, approximately 57 to 60 inches from the floor.
- Balance and symmetry: As you arrange your artwork, strive for balance and symmetry. This doesn’t mean that every piece must be the same size or evenly spaced; instead, focus on creating a visually pleasing arrangement by mixing and matching different sizes, shapes, and colors.
- Use appropriate hardware: Depending on the weight and size of your artwork, you may need to use different types of hardware to hang each piece securely. Be sure to choose the proper hardware for your specific situation, whether that’s picture hooks, wire, or brackets.
- Start hanging: Using your reference photo and marked locations, begin hanging your artwork, starting with the focal point and working outward. Adjust your layout as needed to ensure proper spacing and balance.
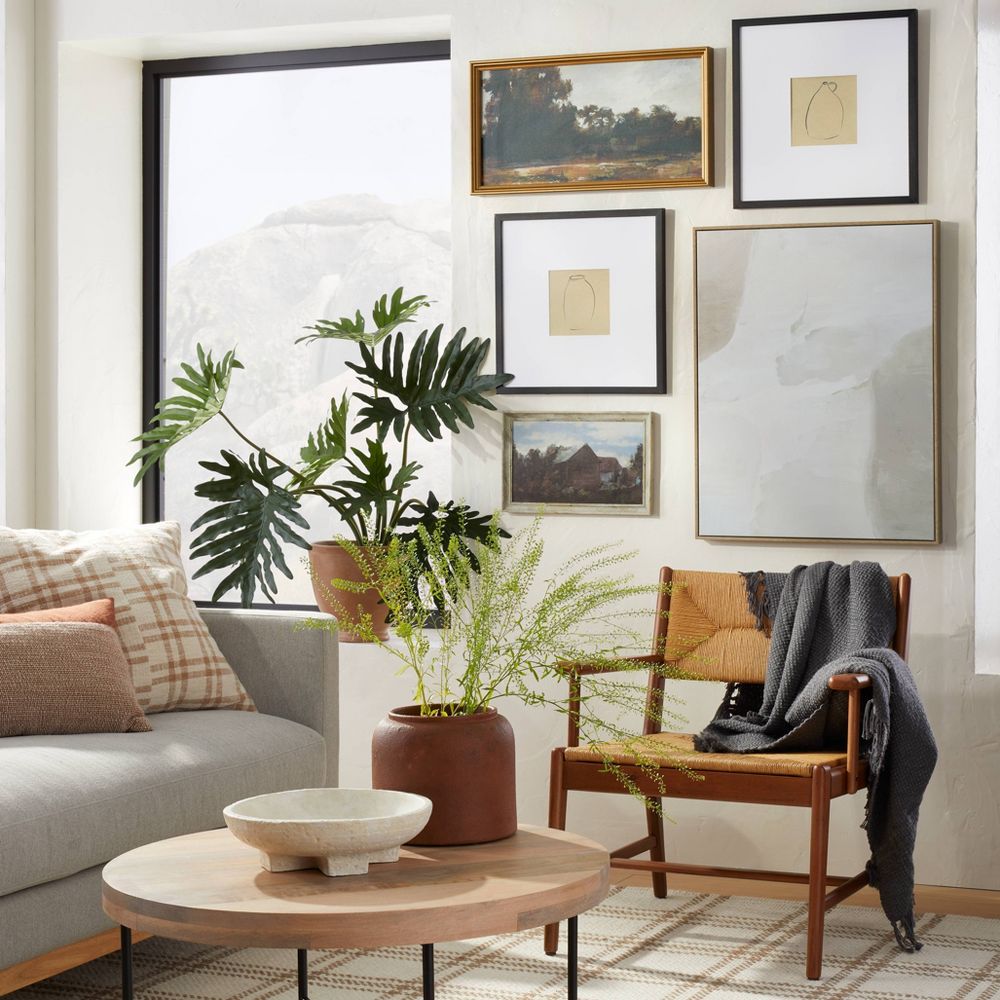
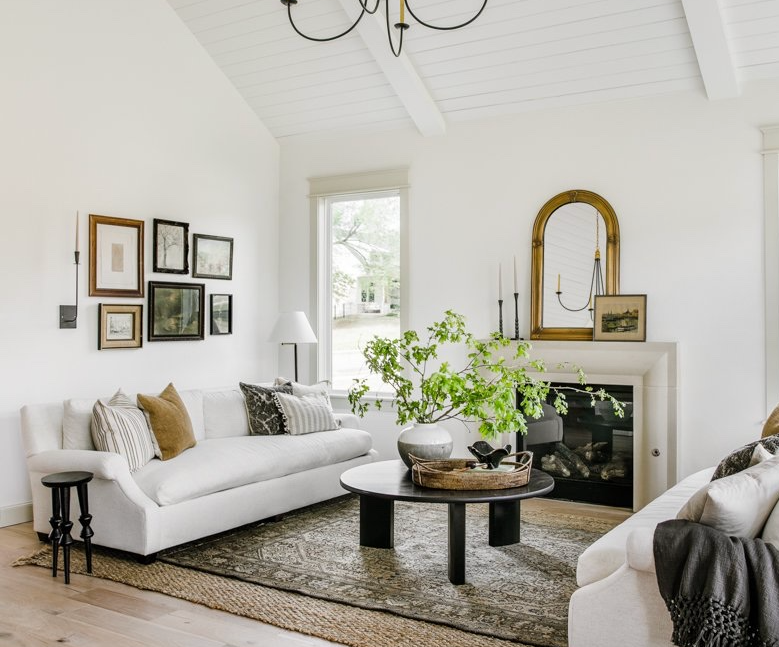
Below is an excellent depiction of using artwork in multiple areas of the same room. You see the gallery on the left wall, and an art piece layered in front of the mirror above the mantle. Notice how the colors, textures, and styles of all the elements in this space are cohesive and complement each other.
Layering Artwork
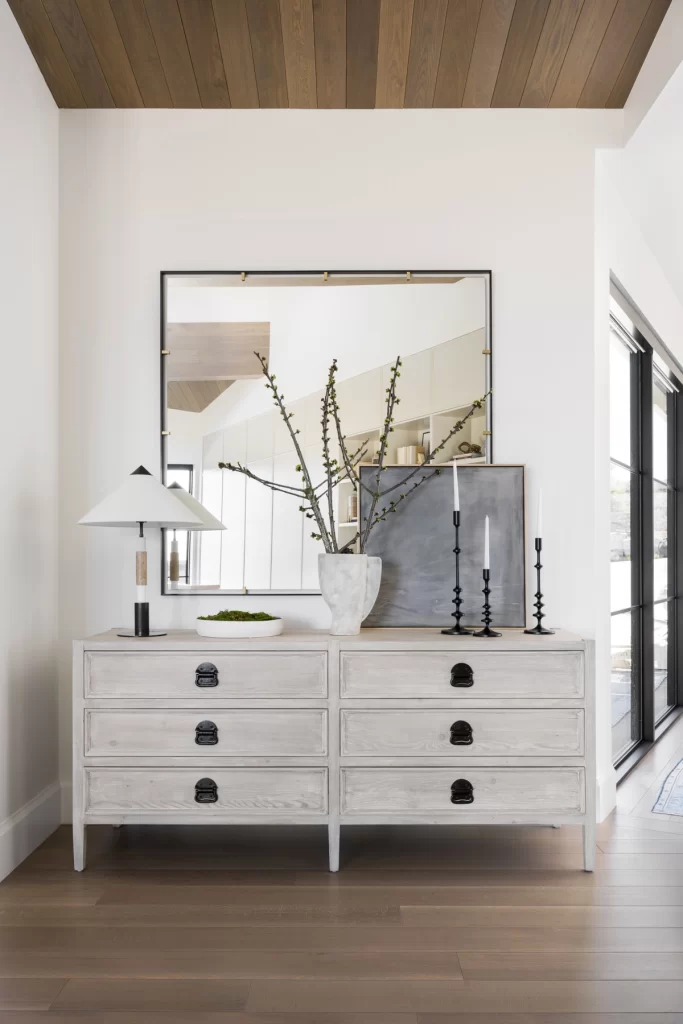
When one piece of art is stacked or placed in front of another, it is often referred to as “layering” or creating a “layered” look. Layering artwork can add depth, interest, and a sense of dimension to your space by incorporating multiple pieces into a single display. This technique can be used on shelves, mantels, or console tables! This is a great option for those who don’t want to put holes in your walls!
Tips:
- Choose complementary pieces: Select art pieces that work well together in style, color palette, and theme. This will help create a cohesive and harmonious display.
- Vary the size and shape: To add interest and depth to the arrangement, use artwork in different sizes and shapes. Mixing large and small pieces and vertical and horizontal formats can create a stunning composition!
- Use frames to enhance the look: Consider using frames that complement or contrast with each other. This can help to unify the layered display and add another layer of visual interest.
- Play with depth and spacing: Experiment with the depth and spacing between the pieces when layering artwork. This can create a sense of movement and dimension in the display.
- Start with a strong foundation: If you’re layering artwork on a shelf or mantel, start with the largest piece as the base and work your way forward with smaller pieces. This will create a stable foundation for the arrangement.
- Create balance: Aim for a balanced composition as you layer the artwork. This doesn’t necessarily mean perfect symmetry but rather a visual balance that feels cohesive and pleasing to the eye.
- Use props and decorative elements: Incorporate other decorative elements like small sculptures, vases, or books to add texture and dimension to the layered display.
- Don’t be afraid to overlap: Allow some pieces to overlap each other partially. Be mindful not to obscure important parts of the artwork, though completely.
Using a mirror to layer artwork is one of my favorite design choices. Simply think of the mirror as another art piece and follow the same guidelines!
Art in Small Spaces
Don’t be afraid to add art to even the smallest of spaces! On a bookshelf, in the kitchen, and even in the bathroom are all ideal options. There are no limits!
Tips:
- Scale matters: Choose smaller art pieces that are proportionate to the space. Oversized artwork can make a small area feel cramped, while smaller pieces can add visual interest without dominating the room.
- Get creative with placement: Think outside the box when it comes to placement. On a bookshelf, consider leaning a small piece of art against the books or tucking it in between stacks. In the kitchen, you might display a small framed print on a windowsill or place a piece on the countertop against a backsplash.
- Layer artwork: In small spaces, layering artwork can create depth and visual interest. For example, on a bookshelf, layer a small piece of art in front of a larger one, or incorporate other decorative elements to create a curated and dynamic display.
- Maximize vertical space: Use the available wall space to your advantage by hanging art vertically. This can draw the eye upward and make the space feel taller and more spacious.
My Favorite Art Pieces
Large Pieces
For Gallery
For Small Spaces
I hope this helps you feel more confident about choosing artwork for your home. As long as you make a plan and are willing to spend some time on this, you’ll create a stunning space in no time!
If you’ve enjoyed this guide, check out one of my recent blog on finding the perfect-sized area rugs! Guides can be so helpful when it comes to designing and decorating your home! As always, check back to my home blog page for weekly design tips, guides, and so much more!




[…] How to Hang Art: A Guide […]